· Rumtoo Engineering Team · Buying Guides · 6 min read
Precious Plastic Shredder: Build One or Buy One? An Honest Cost Comparison
The Precious Plastic shredder is the open-source design that started thousands of small recycling workshops. This guide compares building one from the plans against buying a finished desktop shredder — real component costs, build time, safety and CE questions, and when each route makes sense.
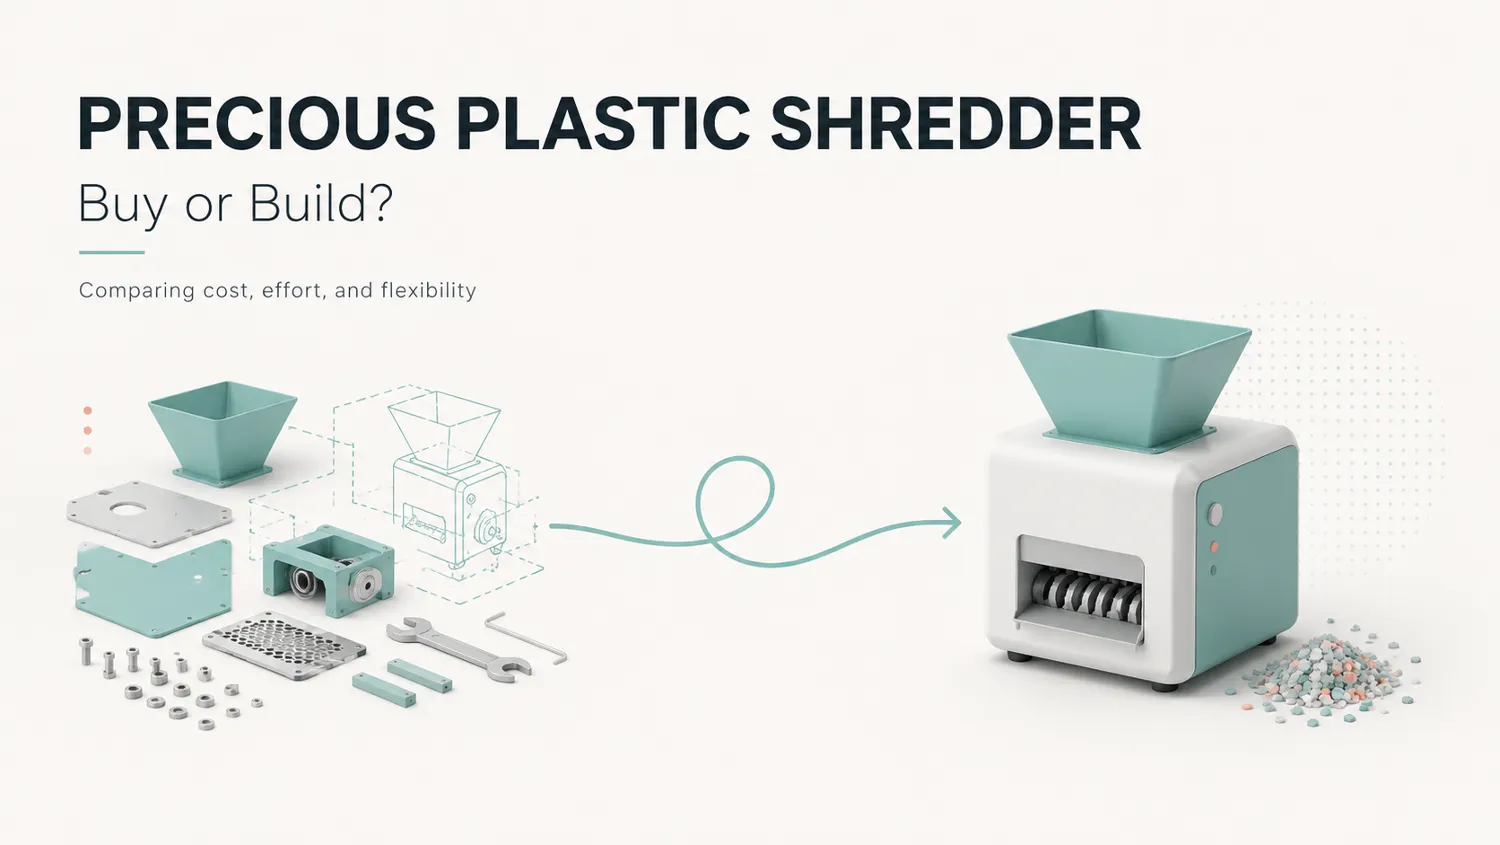
The Precious Plastic shredder is probably the most-built recycling machine in the world: an open-source, dual-shaft design published by the Precious Plastic community that thousands of workshops, schools, and makers have cut, welded, and wired themselves. It proved that small-scale plastic recycling works. The question this guide answers is the one every workshop hits next: should you build the shredder from the open plans, or buy a finished desktop machine? We build compact shredders for a living, so we have an interest here — which is exactly why the comparison below uses real numbers you can check.
What the Precious Plastic shredder is
The Precious Plastic shredder is a low-speed, high-torque shredder with laser-cut steel knives stacked on a hex shaft, driven by a geared motor. The design files are free, the community forums are active, and the machine genuinely works: it turns bottle caps, failed prints, and rigid scrap into flake that feeds the community’s injection and extrusion machines.
It is, mechanically, the same machine class as any commercial desktop plastic shredder: low rpm, geared torque, a screen that sets flake size. The differences are not in the principle — they are in the execution, and that is where the build-or-buy decision lives.
The real cost of building one
The plans are free; the machine is not. A realistic bill for a Precious Plastic-style build, at typical maker-community prices:
| Component | Typical cost (USD) |
|---|---|
| Laser-cut knife and frame set (outsourced cutting) | $300–600 |
| Geared motor (~1.5 kW class) + drive | $250–600 |
| Hex shaft, bearings, hardware | $100–200 |
| Hopper, stand, guarding materials | $100–250 |
| Electrical: switch, overload protection, wiring | $80–200 |
| Parts subtotal | $830–1,850 |
Then the part nobody budgets: your time. Community build logs consistently report 40–100+ hours from parts to a machine that runs reliably — sourcing, assembly, alignment, first-run debugging, and the inevitable knife-gap tuning. Value your workshop time at even $20/hour and the true build cost lands at $1,600–3,800.
None of that makes building wrong. It makes building a project — and if the project itself is the point (education, community workshops, learning fabrication), it is a great one.
What a finished machine changes
A commercial desktop shredder in the same class — 1.5 kW geared drive, 1–5 kg/h on rigid scrap, interchangeable 3–8 mm screens — arrives as a working machine instead of a parts list. The differences that matter in daily use:
- Safety that is engineered, not improvised. Interlocked hopper, no-volt release, overload protection sized to the motor — the items a self-build often adds “later.” A shredder is the one machine in the workshop that must never meet an improvised guard.
- CE conformity. For a school, university, or any EU workplace, the CE-marked machine is the difference between “plug it in” and a conversation with the safety officer. A self-built machine in an institutional setting is often simply not allowed to run.
- Knife alignment and screens done at the factory. The tedious part of every build log — shimming knives, chasing jams, drilling screens — is already dialed in, with spare screens available off the shelf.
- A warranty and someone to email. When a bearing fails, you swap a part instead of re-engineering a corner of the machine.
The honest trade-off in the other direction: a self-build is repairable with a grinder and welder forever, teaches you the machine completely, and carries no shipping cost if your parts are local.
Build or buy: the decision in one table
| Your situation | Better route |
|---|---|
| Education project — the build is the lesson | Build from the open plans |
| Community workshop with fabrication skills and free time | Build, budget 40–100 hours honestly |
| School, university, or company workshop (CE / liability rules) | Buy — conformity is non-negotiable |
| You need reliable flake this month for prints or products | Buy — the 40–100 build hours are your real cost |
| Filament or product business where downtime costs money | Buy, keep spare screens and knives |
| Remote location where shipping a machine is impractical | Build with locally cut parts |
The short version: build when the process is the product; buy when the flake is the product.
If you buy: what to check in a desktop shredder
Whatever brand you look at, hold it to the standard the Precious Plastic community itself set — plus the items a factory can add:
- Geared low-speed drive (not a re-purposed high-rpm motor): torque is what shreds rigid scrap without stalling.
- Interchangeable screens in the 3–8 mm range, so flake size matches your extruder or injection machine.
- Interlocked feed hopper you cannot reach the knives through — non-negotiable.
- Knife steel and spare parts: hardened knives, and screens/knives you can order rather than fabricate.
- A feed opening that fits your scrap: failed 3D prints and bottle caps are easy; if you shred larger rigid parts, check the opening before the motor size.
Our mini desktop shredder is built to exactly this checklist, and the wider selection logic — desktop versus industrial classes — is covered in desktop shredder vs industrial shredder.
From shredder to full loop
A shredder alone makes flake, not products. The Precious Plastic ecosystem pairs it with extrusion and injection — and the same is true for a bought machine. For 3D-printing workshops, flake feeds a filament extruder to close the loop from failed prints back to spooled filament; the complete workflow is in our 3D printer filament recycler guide. For product makers, flake goes to sheet presses or injection — the flake specification (clean, dry, consistent size) is the same either way.
Frequently Asked Questions
How much does it cost to build a Precious Plastic shredder?
Realistically $830–1,850 in parts — laser-cut knives and frame, a geared motor around 1.5 kW, shaft, bearings, guarding, and electricals — plus 40–100 hours of build and debugging time reported consistently in community build logs. Counting time at workshop rates, the true cost is $1,600–3,800.
Is a Precious Plastic shredder as good as a commercial desktop shredder?
Mechanically it is the same class of machine: low-speed, high-torque, screen-controlled flake size. The differences are execution: factory knife alignment, engineered safety interlocks, CE conformity, and off-the-shelf spare parts. A well-built community machine shreds well; a bought machine skips the 40–100 hours it takes to get there.
What can a desktop shredder actually process?
Rigid scrap that fits the feed opening: failed 3D prints, bottle caps, injection rejects, small containers, and sprues, typically at 1–5 kg/h with a 1.5 kW geared drive. Film, fabric, and large thick-walled parts belong on bigger machines.
Can I sell products made from self-shredded plastic in the EU?
Selling products is generally fine — the constraint is the machine itself: an employer or institution operating a machine without CE conformity carries the liability. That is why schools and companies usually buy a CE-marked shredder even when a community build would technically do the job.
Choose the route that matches your goal
The Precious Plastic shredder earned its place: it put real recycling machines within reach of anyone with a welder and patience. If the build is your project, use the open plans and enjoy it. If the flake is your project — for filament, products, or research — a finished desktop shredder delivers the same machine class with the safety, conformity, and spare parts already solved. Tell Rumtoo what you shred and what the flake feeds, and we will tell you honestly whether our smallest machine — or a community build — fits your case. Contact our engineering team for a straight answer.
- precious plastic shredder
- diy plastic shredder
- desktop plastic shredder
- small scale recycling
- plastic recycling